Cyotek Spriter Help
This second tutorial covers adding effects to a project
What are effects?
Effects allow you to transform the sprites in your project, and each effect can be applied to a range of images. As well as the ability to transform the original images, effects can also create new copies of the images to be transformed.
Spriter supports two type of effects. Static effects require a source image to process. For example, the grayscale effect is a static effect as it cannot be used without an underlying image to process. Dynamic effects do not require (or use) an underlying image, but instead generate content on the fly. The text effect is an example of a dynamic effect.
Adding effects
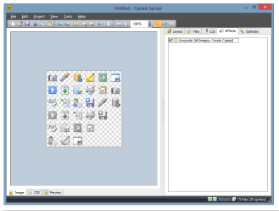
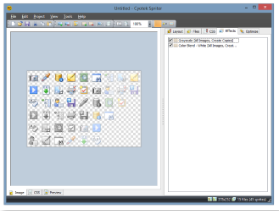
- Click the Effects tab on the right hand side of the window, or select Effects from the Project menu to display a list of the effects
- To add a new effect, select Add Effect from the Project menu, or press Control+E
- When the Add Dialog appears, choose Grayscale from the Effects menu
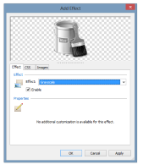
- By default, effects are applied to automatically maintained copies of all images in the project. In order to ensure that CSS class names are unique, you'll also need to specify a prefix or suffix for this effect.
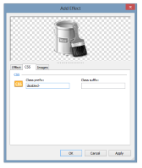
- Click the CSS tab then enter a value of disabled- into the Class prefix field

- Click OK to add the effect to your project, and update the preview sprite sheet.
- The image now shows the images you originally added, plus the new images generated by the effect.
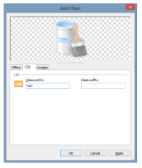
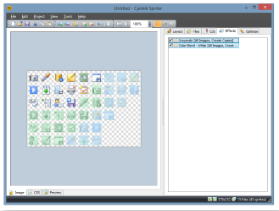
- Add another effect, this time choosing Color Blend from the effects list
- Unlike the Grayscale effect you added previously, this effect has additional properties you can customize - the blend color, and the alpha value for blending the colors together. For now, we'll leave these at the default values. Remember that the preview area updates whenever you modify the effect settings so feel free to experiment!
- Click the CSS tab then enter a value of hot- into the Class prefix field
- Click OK to add the effect to your project, and update the preview sprite sheet.
- One final tip, selecting an effect from the effects list will highlight it in the preview sprite sheet, useful for checking which images you've applied effects to.
- Now you're ready to export the project!